
What Is Skin Glazing vs Slugging?
Slugging involves applying a thick, occlusive layer (like petroleum jelly) as the final step in your nighttime routine to lock in moisture. While effective for extremely dry skin, this technique can be problematic for oily and combination skin types.
Skin glazing, on the other hand, achieves that coveted Korean "glass skin" look through strategic layering of lightweight, water-based products. Instead of one heavy occlusive layer, you build hydration using multiple thin layers that absorb quickly and leave your skin looking naturally luminous.
The key difference? Slugging creates a barrier on top of your skin, while glazing works within your skin's layers to enhance natural radiance without heaviness.
Why Skin Glazing Works Better for Oily/Combination Skin
Prevents Pore Congestion
Oily and combination skin types produce excess sebum, which can mix with heavy occlusives to create a recipe for clogged pores. Skin glazing uses lightweight formulas that hydrate without adding unnecessary oils or creating a suffocating barrier.
Addresses Dehydration Without Over-Moisturizing
Many people with oily skin are actually dehydrated—their skin lacks water, not oil. Skin glazing targets this specific concern by delivering water-based hydration that plumps and smooths without triggering excess oil production.
Suitable for Daily Use
Unlike slugging, which is typically reserved for nighttime, skin glazing can be incorporated into both morning and evening routines. The lightweight finish works beautifully under makeup and SPF.
Step-by-Step Skin Glazing Routine
Morning Routine:
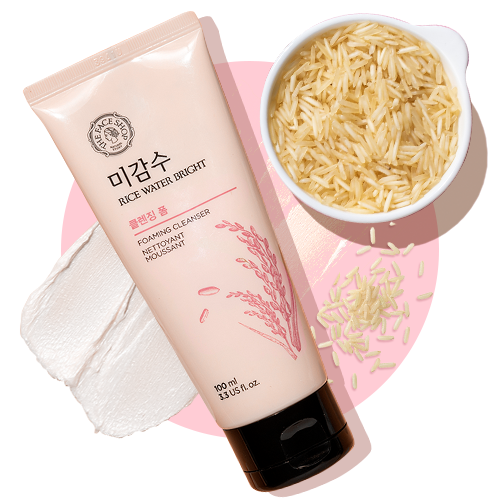
Step 1: Gentle Cleansing Start with [Rice Water Bright Cleansing Foam](https://thefaceshop.in/products/rice-water-bright-cleansing-foam), which removes impurities without stripping your skin's natural moisture barrier.
Step 2: Hydrating Toner Apply [Rice & Ceramide Moisturizing Toner](https://thefaceshop.in/products/rice-ceramide-moisturizing-toner) using the "7-skin method"—pat on 2-3 thin layers, allowing each to absorb before applying the next.
Step 3: Lightweight Serum [White Seed Brightening Serum](https://thefaceshop.in/products/white-seed-brightening-serum) provides vitamin C benefits while maintaining the lightweight texture essential for glazing.
Step 4: Hydrating Mist Spray [Chia B12 Hydro Mist](https://thefaceshop.in/products/chia-seed-hydro-mist) for an extra layer of water-based hydration that enhances the glazed effect.
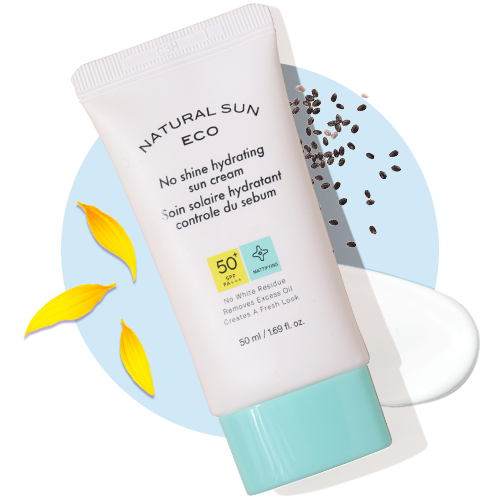
Step 5: Sun Protection Finish with [NaturalSun Eco No Shine Hydrating Sun Cream](https://thefaceshop.in/products/naturalsun-eco-no-shine-hydrating-sun-cream), which provides protection without disrupting your glazed finish.
Evening Routine:
Follow steps 1-3 from the morning routine, then add:
Step 4: Hydrating Essence [Alltimate Vegan Mucin Peptide 8 Serum](https://thefaceshop.in/products/alltimate-vegan-mucin-peptide-8-serum) delivers intense hydration with a glass-like finish.
Step 5: Light Moisturizer [Chia B12 Hydro Cream](https://thefaceshop.in/products/chia-seed-hydro-cream) provides final hydration without heaviness.
Product Layering Techniques for Best Results
The "Thin-to-Thick" Rule
Always apply products from thinnest to thickest consistency. This ensures proper absorption and prevents pilling.
The "Press, Don't Rub" Method
Gently press each layer into your skin rather than rubbing. This technique enhances absorption and creates that signature glazed appearance.
Wait Between Layers
Allow 30-60 seconds between each application for optimal absorption. Rushing the process can lead to pilling and reduced effectiveness.
Benefits of Skin Glazing
- Immediate glow: Creates an instant luminous effect
- Long-term hydration: Builds skin's moisture reserves over time
- Makeup-friendly: Provides the perfect base for foundation
- Customizable: Adjust layers based on your skin's daily needs
- Non-comedogenic: Won't clog pores when done correctly
Potential Downsides and How to Avoid Them
Over-Layering
Using too many products can overwhelm your skin. Start with 3-4 layers and gradually increase if needed.
Wrong Product Selection
Avoid products with heavy oils, silicones, or alcohol, which can disrupt the glazing effect.
Skipping Patch Tests
Always test new products on a small area first, especially when layering multiple formulas.
Expert Insights: Korean Skincare Philosophy
Korean skincare emphasizes the concept of "skin first, makeup second." Skin glazing embodies this philosophy by creating a naturally radiant complexion that requires minimal coverage.
Dr. Shin-Young Cho, a Korean dermatology specialist, explains: "Layering lightweight textures is brilliant for oily skin because it provides hydration without the weight. Each layer builds upon the previous one to create that coveted glass-skin effect."
People Also Ask
Q: Can I use skin glazing if I have acne-prone skin? A: Yes, but choose non-comedogenic, water-based products and avoid over-layering.
Q: How often should I do skin glazing? A: Daily! Unlike slugging, skin glazing is gentle enough for everyday use.
Q: Will skin glazing make my oily skin worse? A: No, when done correctly with appropriate products, it actually helps balance oil production by addressing dehydration.
Q: Can I wear makeup over skin glazing? A: Absolutely! The technique creates an ideal base for makeup application.
Q: What's the difference between skin glazing and the 7-skin method? A: The 7-skin method focuses specifically on toner layering, while skin glazing incorporates multiple product types for a complete routine.
Ready to Glow? Start Your Skin Glazing Journey
Skin glazing offers oily and combination skin types the perfect solution for achieving that coveted Korean glass skin look without the heaviness of traditional slugging. By focusing on lightweight, water-based layers, you can build hydration gradually while maintaining your skin's natural balance. Start with the basic routine outlined above, listen to your skin's needs, and adjust accordingly. Remember, consistency is key—give your skin 2-4 weeks to fully adapt to this new technique and reveal its natural radiance.